Bulkhead Is Giving Great Winter Light

Things are gradually taking shape – the staircase has been primed, so it’s pretty close to it’s final color. The steel needs to be painted, and the side panels need to be put in, but we’re starting to get a sense for the light that the bulkhead brings into the house. We opted for big windows in a bulkhead rather than the more traditional skylight because it should give more light in the winter and less in the summer.

Here’s a picture looking up, showing the bulkhead windows…
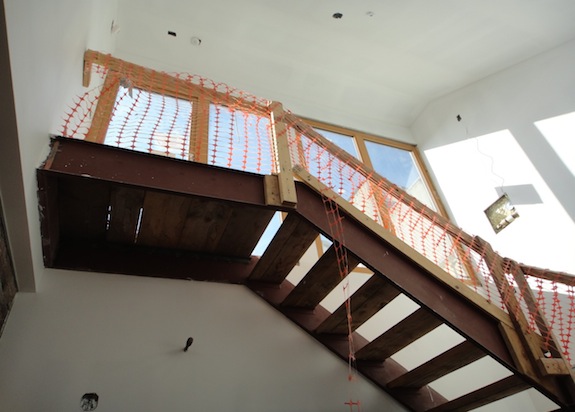
light from bulkhead windows

On a sunny winter day the light is really bright right at the top. On the opposite wall there’s the clerestory window into Dan’s “gallery” / “clean studio”…
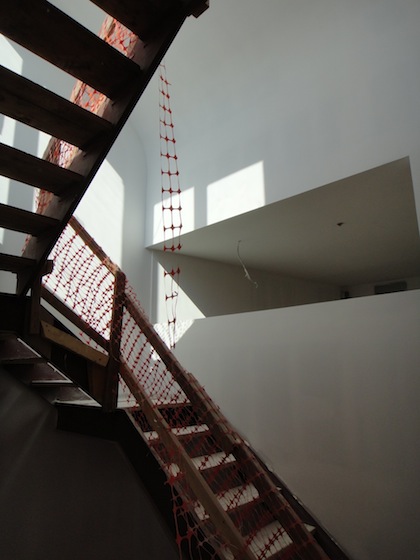
bulkhead casting light on clerestory windows

It looks really dark below that flight of stairs, but actually it really isn’t… It’s just a bit of a photographic trick since the direct light is so bright it makes other areas look dark by comparison. As you can see below, there’s plenty of natural light one flight down where there’s a clerestory window into the den / TV room on our master bedroom floor…
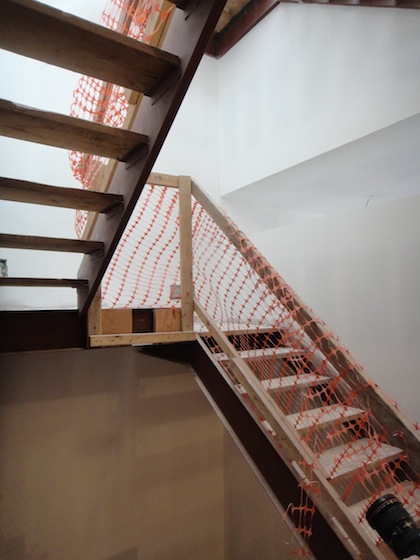
stairs from 3rd to 4th floors

It’s only below that point that the light bulbs are brighter than natural daylight. [All of those pictures were taken within a few minutes of each other.]

Of course, the light will change when we put in the plexi panels on the sides of the stairs. We’ll either do a milk-white plexi or a frosted plexi – either one will block a lot of the direct light and make the light that gets through more diffuse.

I gotta say, I really like the whole clerestory-over-a-closet detail in the den. I wouldn’t want it everywhere, but it’s interesting. Here’s a couple pictures…
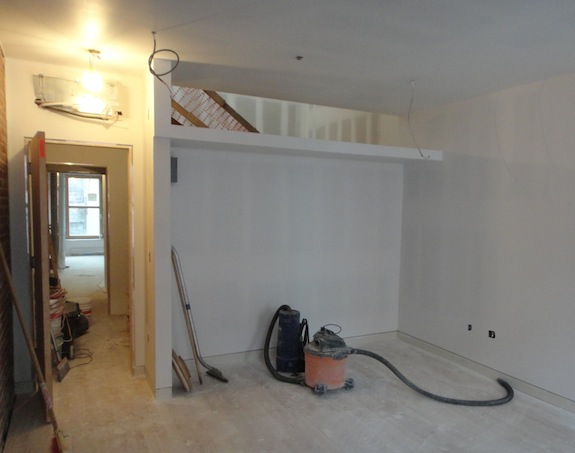
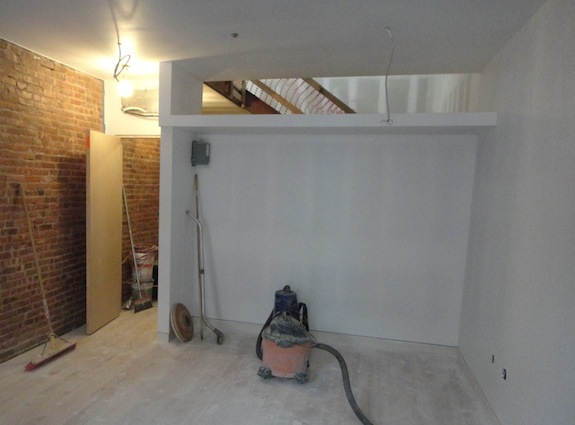
den clerestory window and down hallway

den clerestory window

Those pictures were taken a different day (the stairwell isn’t primed yet in those pictures) – and it was later in the day when there was less light coming down the stairwell. In person the clerestory window has more depth to it, which you can only sorta get from the pictures.

One thing we noticed a few months ago is that on summer mornings, when sun hits the front of the house, light goes from the den into the stairwell – opposite of what we expected. But we’ll need to wait a few months to see that happen again 🙂

And, in case you’re wondering, we’ll be putting wire glass (fire rated) fixed-pane windows into those openings.

Today they’re putting the first of two coats of ceiling white on the ceilings. And they’ve started tiling the bathrooms – I’ll do a post on that soon…

Art & Exposed Brick Walls

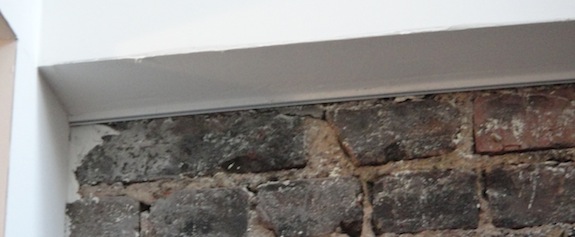
We like art. When we move in our walls will definitely not be bare. Plus, Dan has an MFA in sculpture from Cranbrook – that’s sorta the point of the entire top floor (his art studio). So one of the issues we had to resolve was hanging art on the exposed brick walls. We didn’t want to be putting nails into the brick, so we needed an art hanging system. Our solution looks like this…

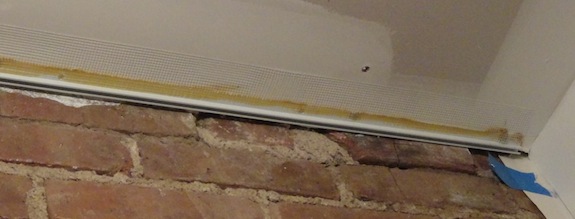
picture hanging track

There’s some cleaning up to do (joint compound on the brick), but you can see the thin track right along the brick. There are special hangers you put into it that let you hang art – up to 65 pounds per hanger.

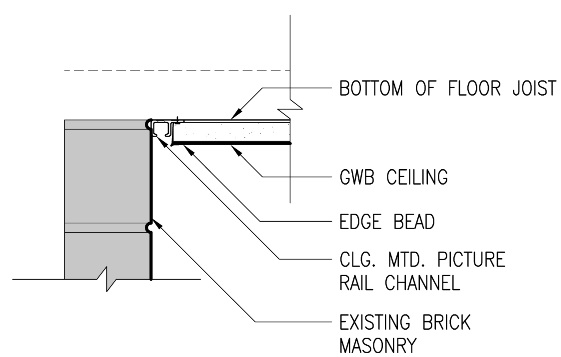
We did it a little differently than the architect planned. He proposed it be recessed a bit and hidden…

But the problem with that was that it was impossible to get the hangers into the track with his solution and even if it had worked, it was a lot more work for our contractor. Our solution is easier and since the track is so minimal it still looks pretty good.

Here it is going in. it has a flange to one side that gets taped and mudded to the drywall…

picture track installation

There was another type that could have worked well. It was much bigger and was made to go next to 5/8″ drywall. It would have worked, but it was 2 1/2 times the price and still only held 65 pound – so we stayed saved some money and went with the smaller one.

We Have Painted Walls!

May seem like a little thing, but the primer went up in one of the rooms today (Dan’s “dirty studio). It’s really feeling like the home stretch (even if it’s going to take another couple months to be done enough to move in)…

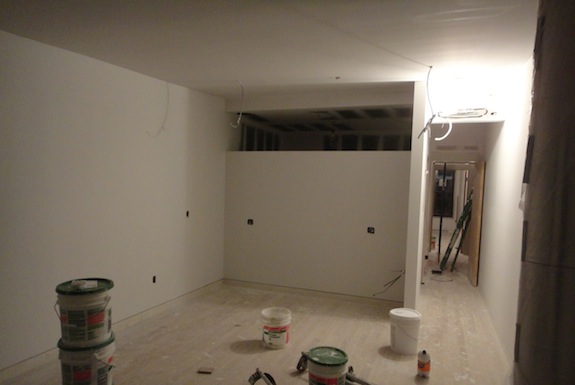
first painted room

And here it is in daylight…

dirty studio painted

Just finish the floor, add a workbench in the alcove, put up the track lights, and the room is all done. The concept of nearly finished rooms almost feels alien. It’s taken so long to get to this point, I can’t believe it’s happening…

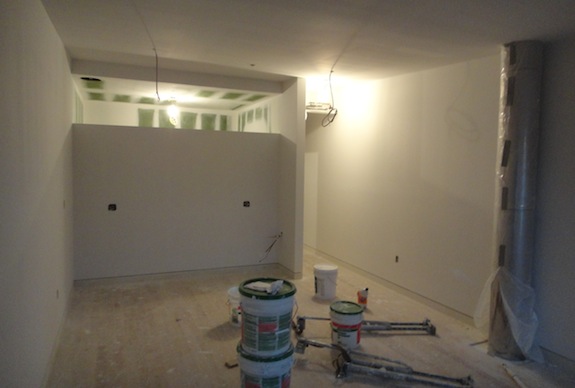
corner of dirty studio

You can see the baseboard in the picture with the Z-bead reveal above it as well as the Runtal radiator (though it’s taped up to keep plaster dust out of it).

DOB Booked Appointment w/ Retired Plan Examiner

DOB never ceases to amaze me… Yesterday we found out that the appointment we had today for a sprinkler PAA had been canceled because the plan examiner retired a month ago.

In the grand scheme of things – I’m glad he retired – his level of incompetence was dumbfounding (our engineer said he’s never seen him review a set of sprinkler plans correctly). But it’s also a bit dumbfounding that DOB would book an appointment to meet with someone who no longer works for them and not catch the error until the day before the appointment. I mean how many people had to show up to meet with the guy before they figured it might be a good idea to stop the appointments and contact the people who had appointments scheduled?

Thanks DOB – more completely unnecessary delays…

Decorative Iron Gates Go In

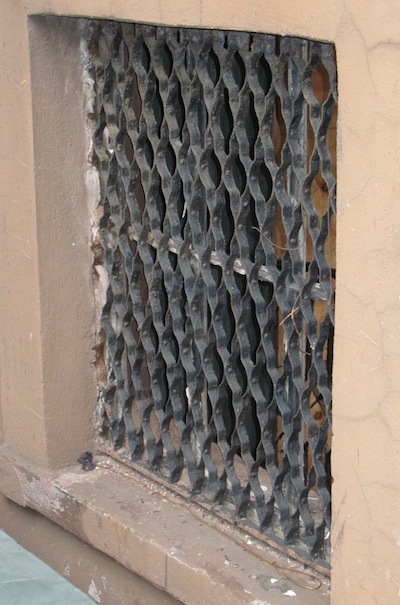
A lot has taken shape this week. Another fairly significant item is the decorative ironwork – gates and grilles. Some of our sibling townhouses still have their original gates and grilles – here’s one example of an under-stoop grille…

original grills

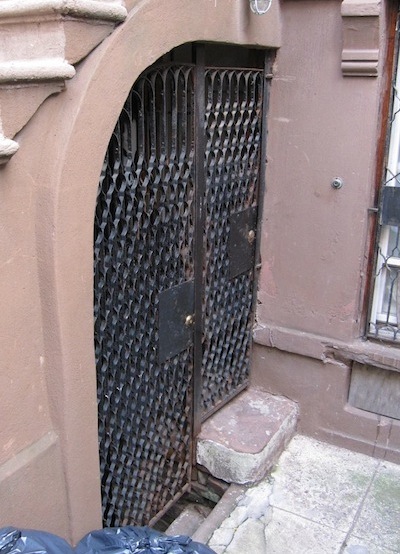
And here’s an example of the original gates under the stoop…

original gates under stoop on Harlem brownstone

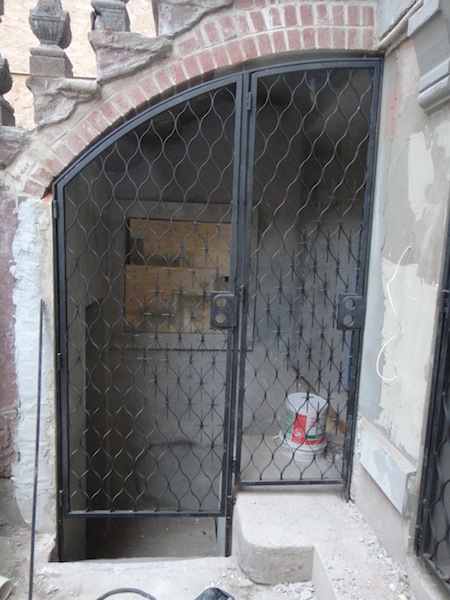
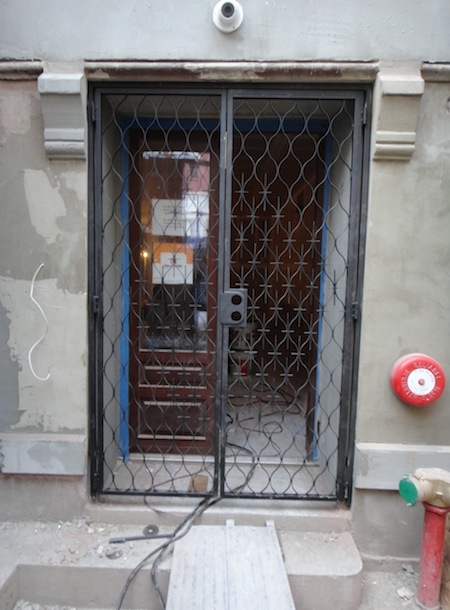
We’ve modified that design slightly…

new under stoop gates on Harlem brownstone

While it’s generally similar (or at least “contemporary & compatible), our bent metal isn’t quite as elaborately bent and the openings are bigger than the originals. Those were both cost saving measures – though I have to say I prefer the bigger openings aesthetically.

Our gates are also different in that they open out rather than in as the originals did. For the little door into the apartment, opening in restricts the already small passage way – it just made more sense to open that one out. On the gate down into the cellar when we recreated the missing arch we modified it a bit and made it slightly higher than it was originally to get more light in under the stoop. Because the arch is higher, if we opened the gate in we’d hit the bottom of the stairs above. You can see on the originals that they lowered the arch and lowered the gates even further to avoid that problem. But opening out meant that we couldn’t take the gate below the bottom step as they did originally. One of the items they still need to resolve is to put a small “foot” on the gate so a small person can’t shimmy under it.

Because we had bigger openings in the ironwork, we needed to do something to prevent someone sticking their arm through and unlocking the gate from the other side (fire code requires that it be easily opened – not a keyed lock). In the picture below you can see the solution a fairly clearly… There are little spikes in the openings radiating out from the lock…

french door gates

It’s actually an approach that blends well with the overall design without blocking light as a plate would. If you look carefully at the picture of the gates under the stoop you’ll see our ironwork guy forgot that the right gate needed a radius to protect the left gate’s lock – he’ll fix that.

We’re going to paint the gates the dark bronze color that other metal work is painted, which will blend nicely with the brownstone color which still has yet to be applied (it’s too cold to do the work).

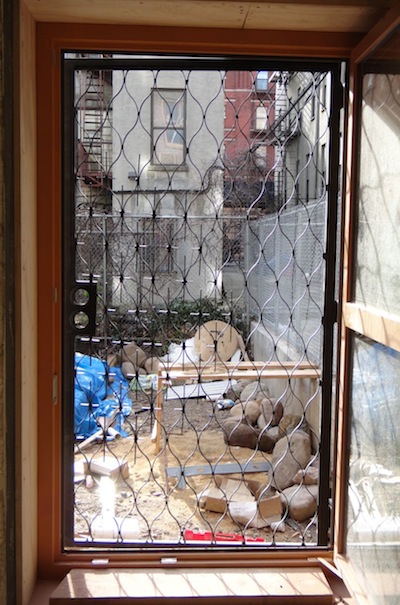
The other thing we were worried about was that the tenant would feel like they were trapped in a prison since every one of their windows and doors has an iron gate or grille on it. If we had gone with run-of-the mill vertical bars I’m sure that’s how it would have seemed. But when you have the window or door open the gate/grille is actually rather pleasant – almost pretty – you don’t think security when you see it – at least not too much.

looking out window gate

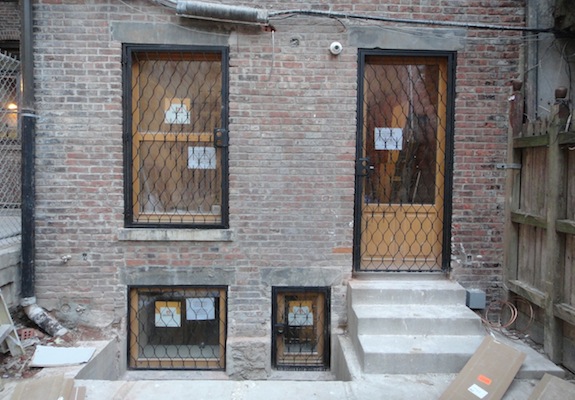
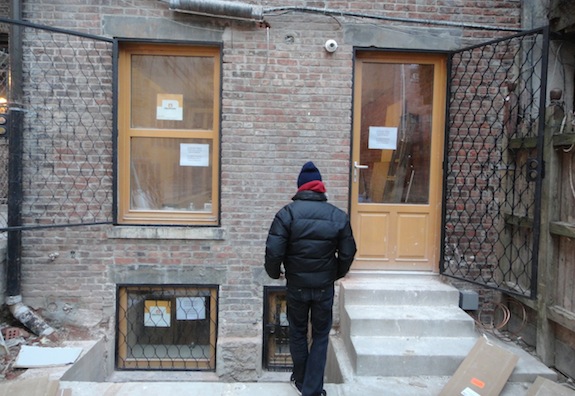
We also made it so the bedroom window grille (pic above) was operable. The tenants have the option of opening the gates and getting them completely out of the way so they’re not visible at all – probably something they’ll do when they have parties. Here they are closed…

rear gates closed

And here they are open…

rear gates open

Ever since we’ve been robbed (actually before then) I’ve been wanting the gates and grilles to go in. I’m glad that layer of security is almost complete – it’s one thing I’d get done earlier if I had to do it all over again.