They haven’t taken down all the scaffolding in but it seems they’re done with repointing the rear façade and things are looking leaps and bounds better than they did when we started the project…
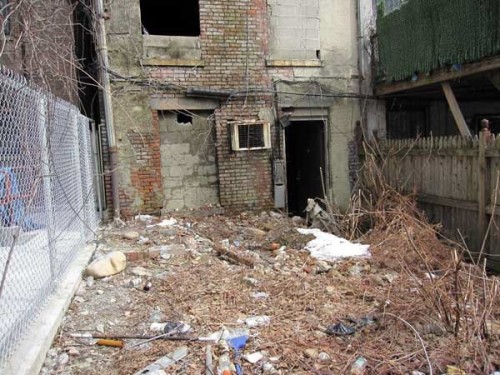
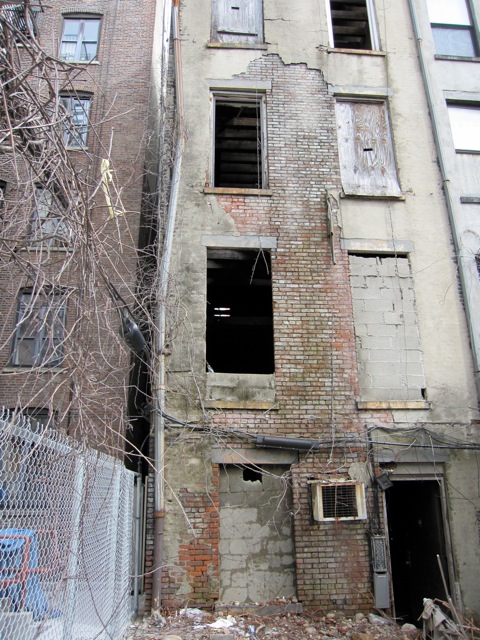
Here’s what it looked like initially…
And here is what it looks like after the repointing is done…

There was so much garbage in the yard when we started you couldn’t even see the cellar windows! It’s looking very neat and tidy now – as it should… And notice that you can’t even tell where the opening for the air conditioner used to be. There used to be parts of that wall that I thought could collapse – that’s no longer the case – it’s back to being a completely solid wall.
Here are some other before and after shots…
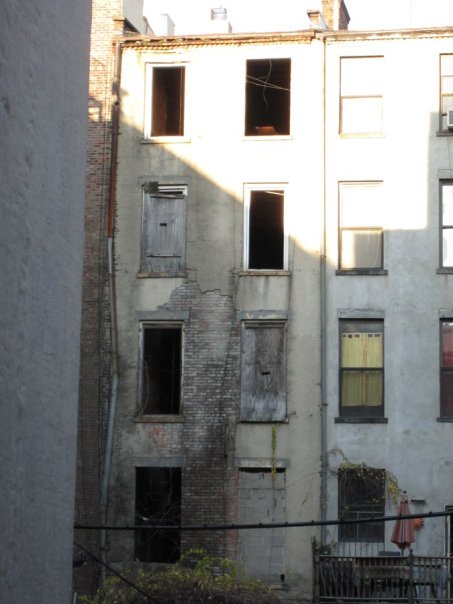
And what it looks like now…

The one thing that didn’t quite go how we had hoped was mortar color. The original color was a pinkish yellowish tan color that looked very sandy and had a high lime content. They just don’t make mortar like that anymore. Well, they can, but there are better ways of making mortar (with cement mixed in). The issue is that the base color of modern, cement-based mortar is gray, not a tan/sandy color. I’m not sure we could have achieved the original color if we had tried. Dan wanted to mix red into the mortar so the mortar would be closer in color with the brick, but even that wouldn’t have been the original color. In the end the contractor just went with the standard gray color. If it were a front façade I think we would have been pickier about the color, but the fact of the matter is that it’s the back of the house and it looks fine.
One thing I should mention is mortar type. There are several types of mortar and they vary by how strong they are…
| Type M: | 2,500 psi |
|---|---|
| Type S: | 1,800 psi |
| Type N: | 750 psi |
| Type O: | 350 psi |
| Type K: | 75 psi |
You would think stronger would be better, but on historic structures the opposite is actually true. Old bricks are softer than modern brick and if you use a mortar that’s stronger than the bricks, when the wall needs to move the weakest part of the wall will be the bricks and they’ll crack before the mortar. That’s the opposite of what should happen – the mortar is supposed to give way before the bricks. After all, the mortar isn’t that difficult to replace, but the bricks are historic – you want to preserve them. You may think it’s not a big deal but think about the fact that a southern facing wall, like our rear wall, will expand slightly every afternoon due to the sun’s heat and then contract at night. Over time that can destroy your bricks if your mortar is too strong. Typically Type N mortar is what should be used on late 1800s townhouses like those in Harlem. Type S and Type M should never be used in walls with historic brick.