It’s been a little while since I wrote up a status report on the house. Things are coming along, but the change is less dramatic and more incremental.
The Bulkhead
The one thing that’s a bit dramatic is the bulkhead on the roof (or “the penthouse” if you want to take a legalistic definition of it as the DOB does).
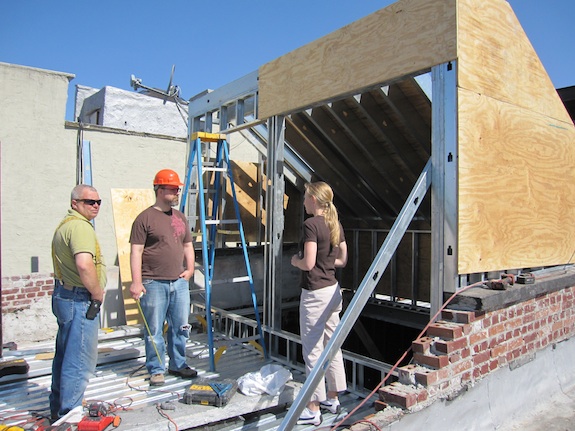
Our roof deck looks a bit small in that picture – the three of us sorta fill up the space, but that’s partially a depth perception thing with the photo. But then again, our place is only 15 feet wide.
The two big openings will be pretty much all glass. The one on the right will have a glass door and a window. The one on the left will have two windows. Each window/door will be 3′ x 7′ – so nice and big with lots of glass to get light into the building.
We’ve opted for a bulkhead in lieu of a skylight because it should get a better quality of light into the house. Skylights, being flat on the roof, get the most light/heat in the summer and less light/heat in the winter. That’s the opposite of what you actually want. We wanted a big scoop to catch light/heat in the winter when the sun is low on the horizon and give us less light/heat in the summer when the sun is high in the sky – a bulkhead achieves that goal. Initially we weren’t going to make it go all the way across the building, but were forced to by zoning rules regarding “side yards”.
At some point we’ll also put a retractable awning above the door/windows so we can have shade in the summer when we’re sitting up on the roof deck or if too much light is getting into the building. Dan’s “clean studio” in the front of the building will have large clerestory windows directly opposite the bulkhead windows. That room in particular may be too bright at times.
Since Manhattan points NNE, the bulkhead windows will face SSW. The photo above was taken about 10am and the sun hadn’t hit the windows yet (morning light in Manhattan, north of the Village, hits the “North” side of buildings). So the bulkhead will mostly get light in the afternoon and early evening. though there will be a fair amount of reflected light coming in the morning.
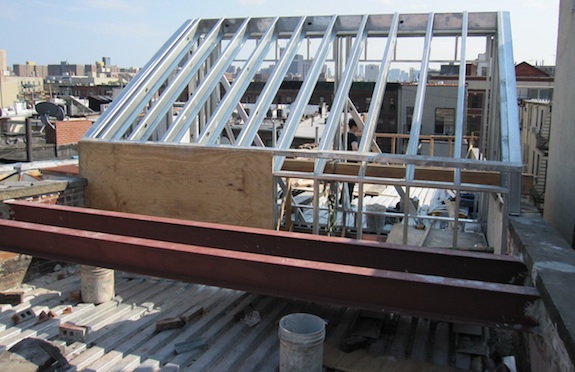
Just behind the bulkhead steel beams have gone in which will hold the condensor units for the mini-split A/C system. Originally our architect was planning on mounting them on pads on the roof, but everyone told us that would be a bad idea since we’d feel the vibration and hear the noise. Steel beams are the best way to go.
Cellar Windows
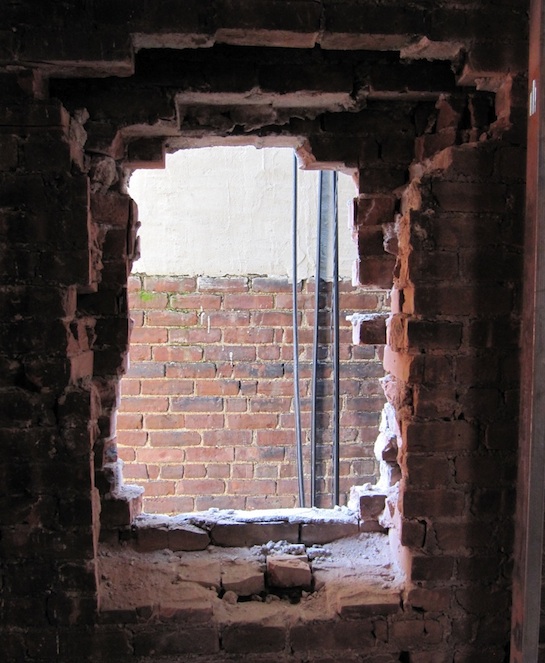
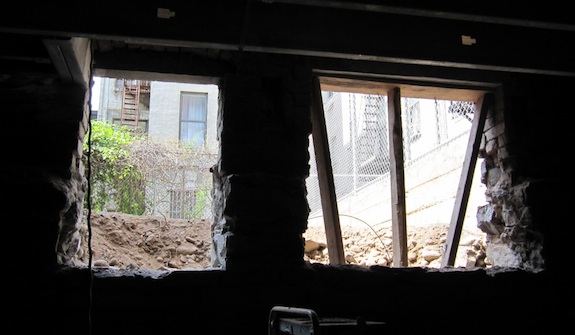
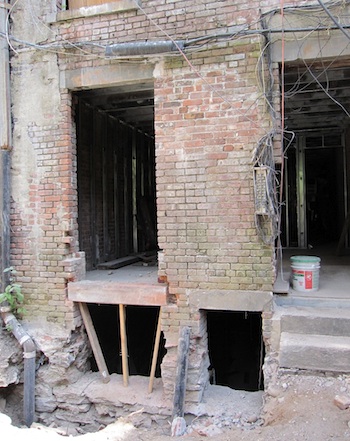 Staying on the window theme… The openings for the windows in the cellar have been made larger. Since Manhattan real estate is all about maximizing every square foot, we decided early on that we wanted to have part of the cellar dedicated to the tenant. It should make the apartment more attractive and make it almost as good as a 2 bedroom.
We went into a lot of townhouse cellars during our search and didn’t like any of them. So, to make it feel less like a cellar and actually a place someone would want to spend time, we did two things – we lowered the floor in the cellar a few inches and raised the floor on the ground level to give both levels a full 8 feet of height.
But the size of the windows was also really important. We wanted as much natural light to get into the cellar as possible. The window face South, so it should be possible to get a lot of light in there. We figured we’d lower the bottom of the windows slightly and since one of the windows went up pretty high we thought we’d have a bench by the window on the ground floor to give clearance for a bigger window below. But Dan never did like the bench idea. He always wanted smaller windows and a flat floor in the rental bedroom.
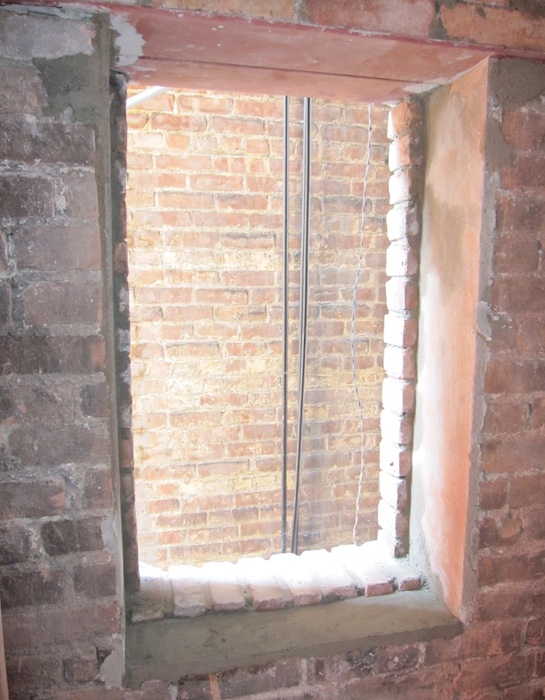
Well, it looks like Dan is getting his way 🙂 The contractor had to replace the lintel between the windows (it was cracked), and when he put in the new one he lowered it so it’s now even with the other, smaller, window (which looks “right”). The bigger cellar windows are a pretty nice size even with the top being lower on the one window. And the flat floor in the bedroom is definitely nice. So that’s a deviation from the plans we all seem to like.
That means the window in the rental bedroom (ground floor) is now the same size as the door. We’ll have the contractor put brick in the bottom of the opening to avoid the need for tempered glass in the bottom pane and make that window more like the rest of the windows in the house which have their sills at about 18 to 20 inches off the floor.
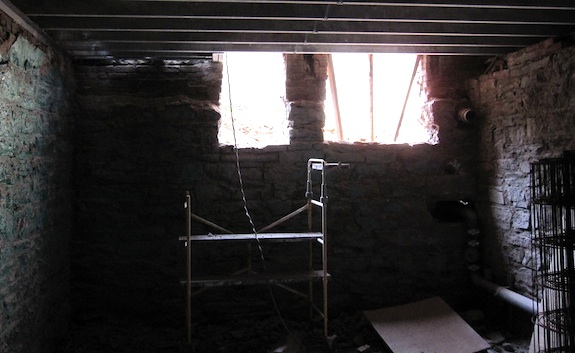
From inside the cellar the windows seem pretty big. They will start above the ceiling – immediately under the floor above.That said the framing of the windows (3 1/2″ all around) will make the actual glass area considerably smaller, but they should still be decent sized windows that let in lots of light.
What’s really great is that the back yard is almost 3 feet lower than the sidewalk out front. So, while the ground floor is about a foot below the sidewalk, it’s 18″ to 2′ above the back yard. That means the cellar space is not completely below ground in the back. That makes a huge difference and when the tenants look out the cellar windows they won’t just be looking at the concrete wall of the light well.
Plumbing
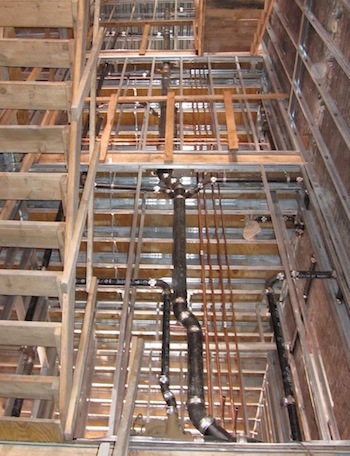 Plumbing is progressing pretty well. It’s actually pretty amazing when you think about what our place looked like two and a half months ago. Looking up in the building it feels completely different – you see the guts of a real, modern home…
They’re concentrating their plumbing efforts on our unit initially, since the rental unit isn’t all that secure yet. As you can see in the picture to the right drain vent and supply lines are largely in. There are 4 copper lines running up the building. One is just for the flushometer toilets (so there are no pressure drops when we flush a toilet). Then one for hot water, one for cold water and there’s a little one that’s a return for the hot water so it can circulate and we’ll get hot water as soon as we turn on the tap. Without that it would take forever to get hot water from the cellar to the top floor.
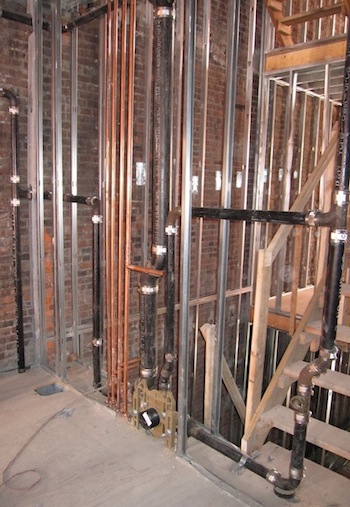 One change we made to the plans was wall mounted toilets in our unit. We had originally wanted wall mounted toilets but thought they were too expensive. But after thinking about it, it’s just so much easier to clean around them, so we told our contractor we were OK with the extra cost ($500/ea) for the wall mounting apparatus.
The tub has also arrived (see picture below) and presumably will be put in place soon. We got the same one Julia Angwin had wanted – a 5.5 foot Kohler “Tea For Two” – a nice, deep soaking tub. Luckily it’s getting put in place while the framing is still flexible. In her case they realized too late that they framed incorrectly so they only had room for the 5 foot version which is completely different – it’s much shallower and was very disappointing for them since it’s not a soaking tub at all. Actually each of the three sizes of Kohler’s Tea For Two is completely different from the other sizes. The 6 footer has armrests built into the sides of the tub (yuck!)
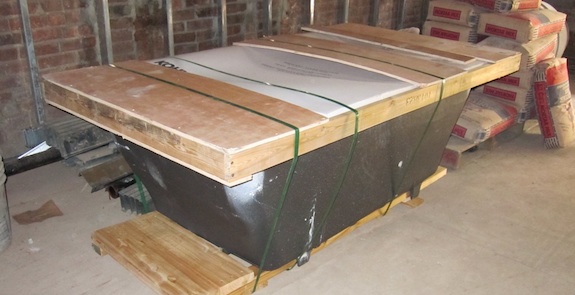
The tub is made out of cast iron and weighs a ton (not really, but it almost feels like it). Metal tubs was another thing Dan wanted, and I’m glad he insisted. We put a fiberglass tub in our last apartment and it’s just not the same… It scratches and feels completely different (doesn’t hold heat, etc.)
The other plumbing thing going on right now is the paperwork to get a new connection to the water main (ours isn’t working). That was submitted this past Tuesday. Apparently it takes a really long time to get a new water main connection – everyone is saying two months. Unfortunately the new water main connection has to be done before the plumbing can be inspected and the walls closed up. And ConEd won’t put in gas and electric until the new water main connection is done. Which is a bit of a problem since it means our contractor has to continue to use generators.
That means early August things will start getting very busy. The windows will be arriving from Austria. The water, electricity and gas will be connected, then a few weeks later insulation will go in and by September hopefully they’ll be putting up sheetrock.
Signs of Life
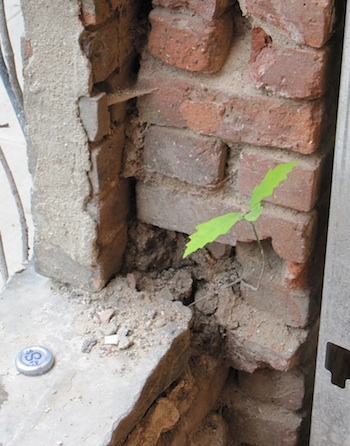 I’ll leave you with a cute picture… Today we saw a tree that’s trying to grow in the brickwork in our parlor window. How it managed to get situated there and grow even that big is beyond me. But it’s sorta cool…
Hopefully this week the electrician will be in and the roofing guy will get a proper roof on the building so we can stop worrying so much about water pouring in the building when it rains.
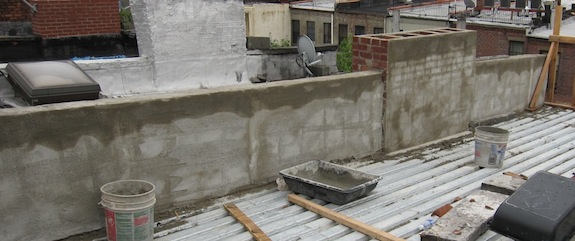
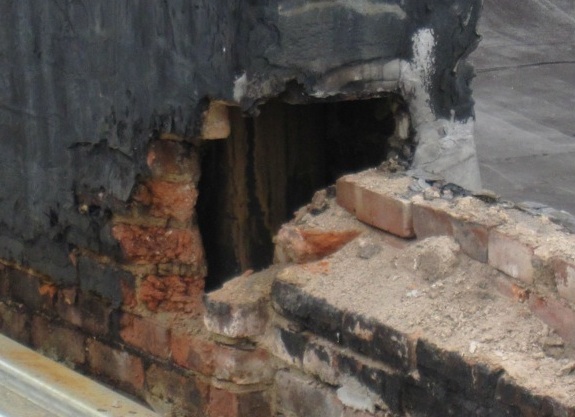
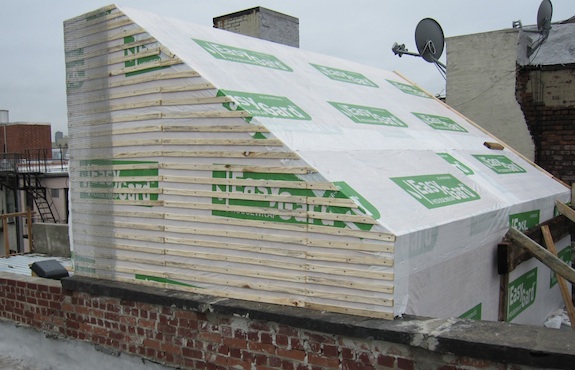
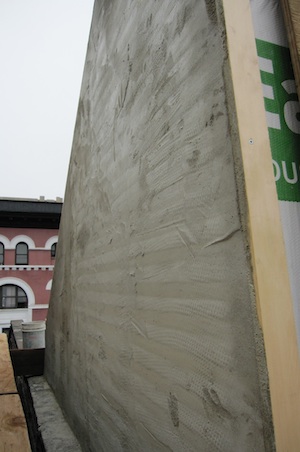 They’ve also started stuccoing the bulkhead. First step was putting up wood and wire lath. On the far side (along the alleyway) they’ve done the next step and put first coat of concrete (?). On top of that will go a finish coat.


 Staying on the window theme… The openings for the windows in the cellar have been made larger. Since Manhattan real estate is all about maximizing every square foot, we decided early on that we wanted to have part of the cellar dedicated to the tenant. It should make the apartment more attractive and make it almost as good as a 2 bedroom.

 Plumbing is progressing pretty well. It’s actually pretty amazing when you think about what our place looked like two and a half months ago. Looking up in the building it feels completely different – you see the guts of a real, modern home…
 One change we made to the plans was wall mounted toilets in our unit. We had originally wanted wall mounted toilets but thought they were too expensive. But after thinking about it, it’s just so much easier to clean around them, so we told our contractor we were OK with the extra cost ($500/ea) for the wall mounting apparatus.
 I’ll leave you with a cute picture… Today we saw a tree that’s trying to grow in the brickwork in our parlor window. How it managed to get situated there and grow even that big is beyond me. But it’s sorta cool…