A week ago or so we had a call from our contractor – a guy from ConEd was at the job site talking to the contractor, the plumber and the electrician – and according to him we couldn’t do things the way our architect spec’d. We were planning on two gas meters – one for each unit with heating on our gas meter. He said you couldn’t get a gas meter for an apartment unless it had gas heating. That’s odd, since every apartment I’ve lived in in New York had separately metered gas that didn’t include heating. He also mentioned we could get a better rate if heating was on it’s own meter.
We thought it over, did some investigation and got back to him. Then he got back to us saying he was wrong – that we could have separate meters for each unit. But questioning everything got us to thinking about whether we were happy with our configuration.
Our initial configuration was based on the premise that the best way to encourage energy efficiency is to have people pay for what they use. If it works for electricity, why not do it with gas? With all the questions I started running some numbers…
Take hot water. We expect the tenant will have to spend about $200/year in gas for hot water, but if it were electric it would be $800. Drying clothes and cooking is probably that amount again. That’s only about $33/month for gas, but it’s $133/month for electric – so we can save our tenants $100/month by having gas instead of electricity for hot water and drying. That savings is reduced a bit because ConEd charges $16.80/month just for the meter and the first 3 therms of gas. So the real savings is only about $85/month, but it adds up and lower utilities will keep our tenants happy.
Now, we could just pay for the tenant’s gas – it’s only maybe $35/month (that’s what architect Peter Holtzman does himself and what he recommends). But the thing is, that’s only if the tenant uses their utilities responsibly. We’re not really encouraging conservation if we pay for whatever the tenant uses. So the bottom line is we want to keep the tenant’s gas on a separate meter.
But the discussion with the guy at ConEd raised another question – do we want a dedicated meter/line for heating? If you combine all your gas usage in one line you’ll pay about 79 cents/therm. Dedicated heating lines start at 69 cents/therm for the first 90 therms, then go down to 53 cents per therm. For really large buildings that use a lot of gas the rate gets down to 41 cents per therm, but townhouses don’t use that much gas. I did some searching on Brownstoner and it looks like well-insulated 3,000 sq. ft. townhouses pay about $300/mo for gas heating for the coldest months. We’ll have about 4,000 heated sq. ft., so our bill will be about $400/month. Running the numbers a dedicated line will bring that down to $300/month – but that savings is only during the coldest months. Total yearly savings would be maybe $400. BUT you have to pay an extra meter charge. I haven’t confirmed it, but I think the meter charge is only during the months that require heating. So that reduces the savings by about $150/year. So total savings is about $250/year (guesstimate).
We’re going to ask our contractor/plumber whether there would be an additional charge for the 3rd meter for heating. If takes more than a few years to recoup the cost we’ll just forget about it. But if it’s inexpensive (or they’ll throw it in) then we’ll put it in.
If you’re thinking about a separate line for heating it’s not worth the trouble unless you’ve got a fairly big townhouse. We’re at about 4,000 heated sq. ft. and it’s a coin toss. If you’re at 5,000 sq. ft. I’d definitely recommend it. If you’re place isn’t properly insulated I’d also recommend it. However, if you’re around 3,000 sq. ft. it’s probably not worth the trouble – the cost of the meter will just about wipe out the savings you get from lower rates.
UPDATE:
I’ve tried pretty hard to get an answer from ConEd about whether a dedicated meter for heating makes sense and I can’t find anyone who can answer the question (!) Hardly anyone at ConEd understands their rate structure and the one guy who seemed to know the most seemed to think I was crazy for asking the question. Then he started talking about how many gallons of oil buildings use that typically have dedicated meters for heating. The gallons of oil comment just floored me. Though I think it comes from selling gas service to buildings that currently use oil (he was a sales guy). He was incapable of talking in terms of size of the building – units, square feet, etc. He couldn’t even tell me what a typical, well-insulated 2 family or 4,000 sq. ft. house pays in heating on cold months. How can they not know that?
I’d really like to know how much to expect in utility bills every month, but it seems it’s just going to be a mystery until it actually happens. Architect Peter Holtzman was nice enough to tell me he paid $2424 last year for all types of gas for his 3 family townhouse on Astor Row. But then a townhouse owner on the Upper West Side said in the comments below that he paid about $800 for just February alone for his 5,000 sq. ft. 3 family. That’s a pretty big range of possible costs. So who knows?
I give up. They seem to just want to put in two meters – one for each apartment. We’ll just stick with that. The separate line for heating seems like a huge uphill battle that’s just not worth the effort. I guess if our heating bills are absurdly high we can investigate installing a third meter down the road. My guess is the bills won’t be all that bad, but I’ll always wonder if they could be a bit lower.
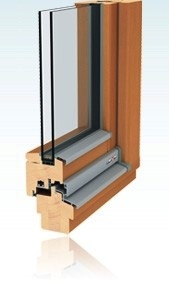 We even got exceptions with our “all wood” windows… First, the windows we’re using have protective metal trim on the most vulnerable parts of the window (see image to the right). Even that small amount of metal on a window makes historic preservationists nervous. Usually no cladding is allowed. But we were given an exception for that because 1) there are no original windows – so it won’t stand out as different than something that’s original, and 2) the metal will increase the lifespan of the window – and historic preservationists like things to last a long time. However, to get the exemption for the metal on the windows we needed to have the metal color matched to the wood so it won’t stand out.

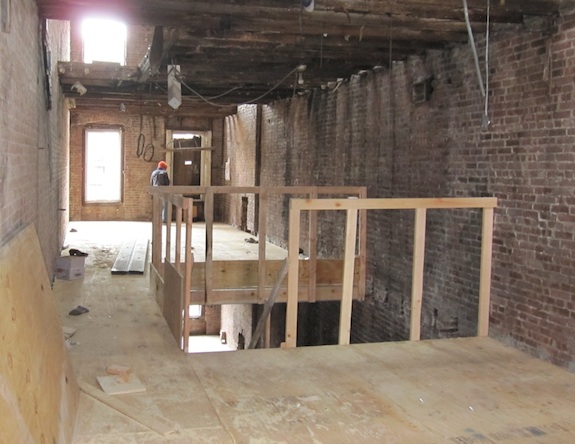
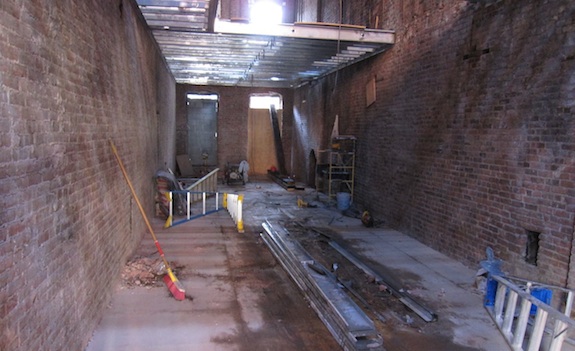
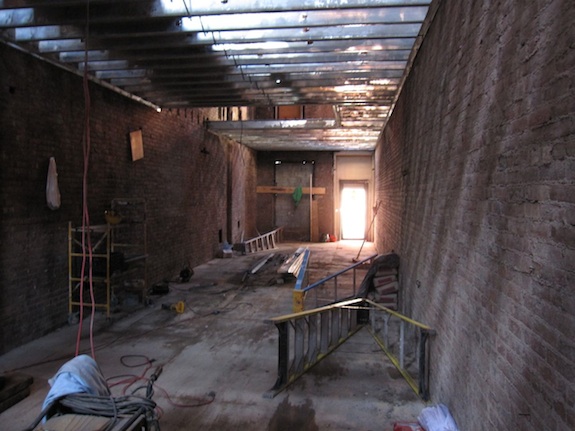

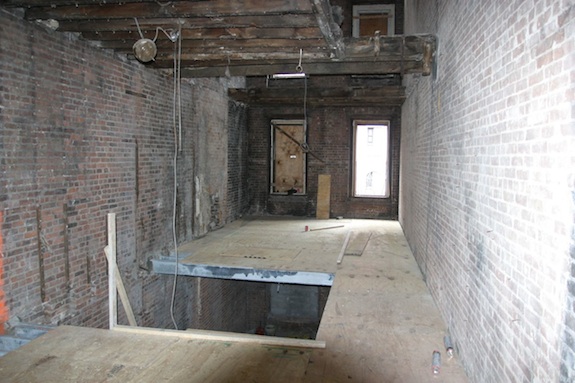

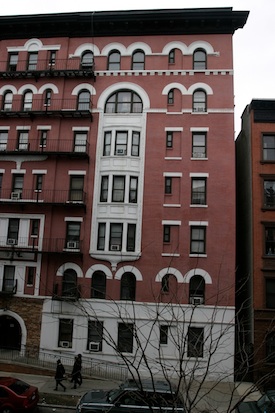
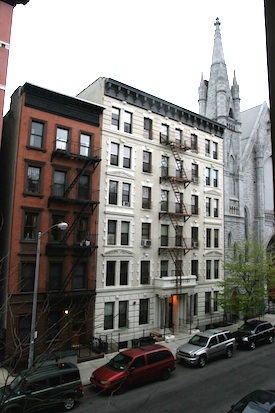
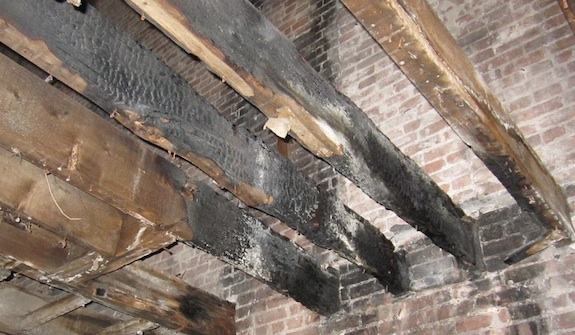
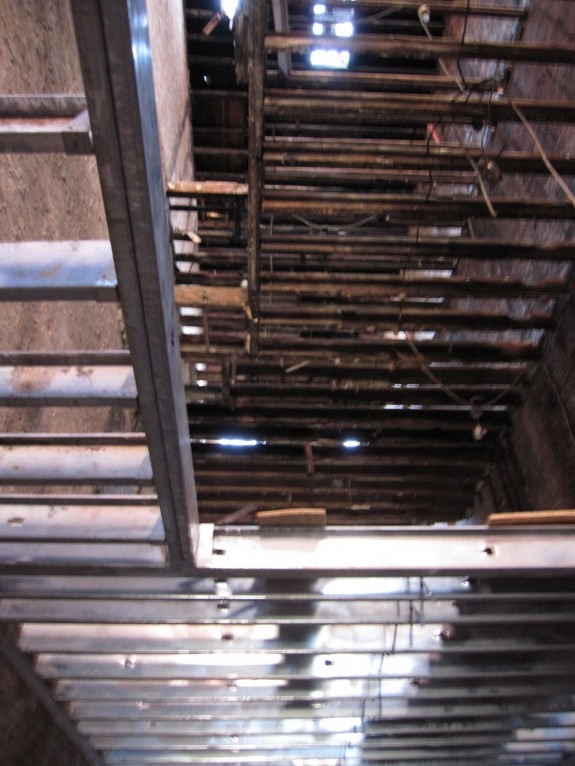
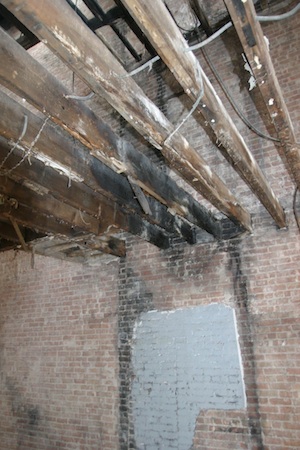 We’ve known there was a fire in the building at some point – we think it was in 1997 or 1998. We can now see where it started – there was apparently a kitchen on the floor above parlor. There was a cooking fire and it got into the ceiling and burned the floor joists. You can see what I’m talking about in the picture above and to the right. I’m pretty sure that was the end of it for our building. In the 12 years since then no one has lived in the building – until now 🙂