We had another week of full-speed work this week – lots of stuff got done.
Steel for main staircase is now “done”
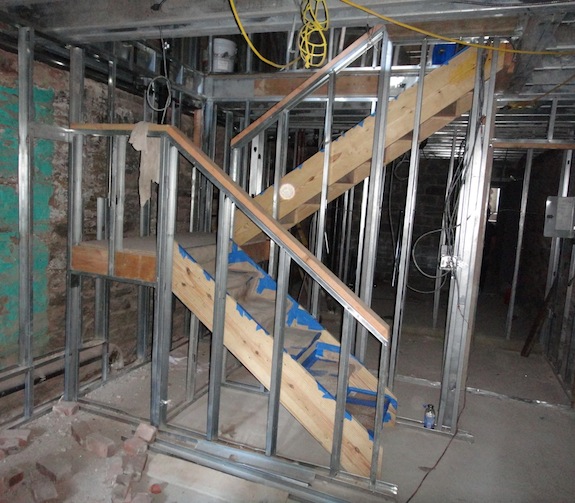
The steel for the 4th and last flight of stairs went in this week – from the top floor to the roof. It’s sorta cool to be able to walk all the way up and down on close-to-normal stairs. I say “done” because there are still finishing details that have to be taken care of, but it’s all there, and looking good.
One thing that needs to go in are the railings and side panels. There will be simple steel frames with plexiglass panels attached to them. The plexi will be somewhat translucent, but you can imagine that it will block a fair amount of the light you see coming through in the picture below…
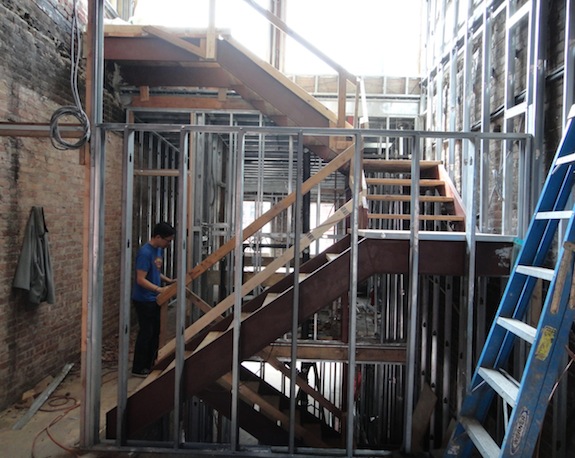
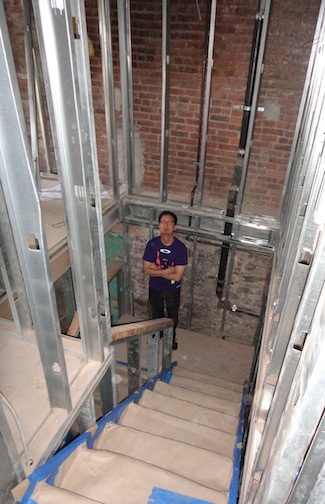
Here you can see down (and down and down…) It’s a long way from the parlor floor to the roof in a quadplex…
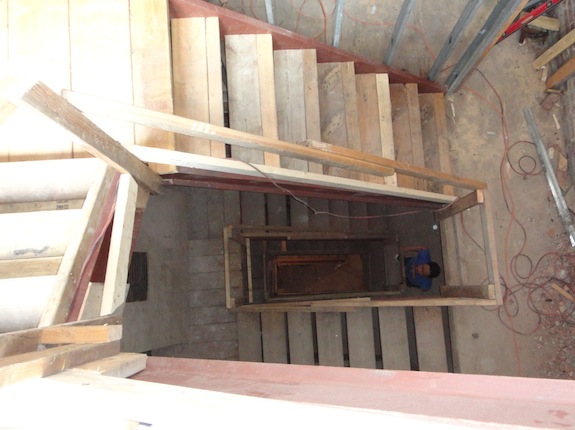 It’s really not all that spooky with all the height and the open risers – unless you’re silly enough to actually look over the railing and down the center core… Here is the view looking up…
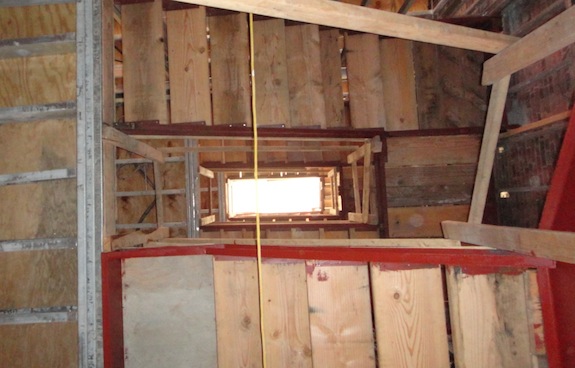 There had been some debate between the stair guy and our architect. Our architect insisted on a pretty gentle 7″ rise from step to step. The stair guy was used to doing 7.5 to 8″ rise. Logistically we had to do 7.5″ rise on the top and bottom flights, but the two in between are 7″ rise. I gotta say you don’t get all that winded walking up the stairs when the slope is nice and gentle – our architect really knew what he was doing…
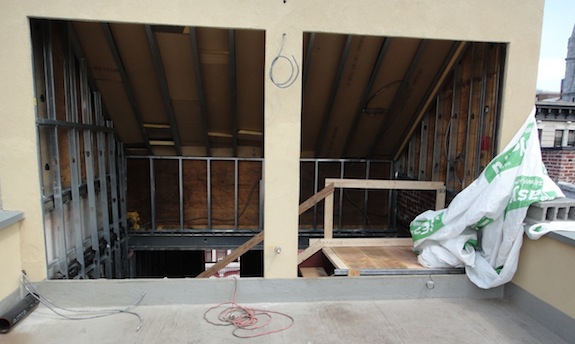
Here you can see the stairs from what will eventually be our roof deck…
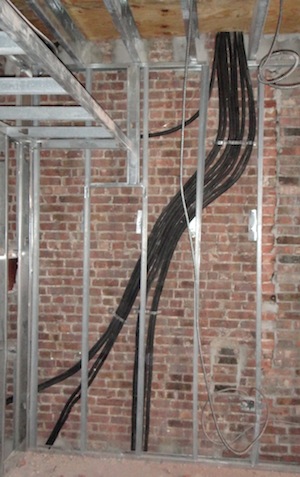 A/C refrigerant lines going in
Another bit of progress this week was the refrigerant lines going in for the mini-split A/C system.
If you’re not familiar with mini-split systems they’re those cassettes that you see on the walls at restaurants and small shops. There’s a condenser unit outside and then refrigerant lines are run from the condensers to a unit inside that has a fan that essentially pushes air over cold coils.
Mini splits are quite efficient and they give you a “central air conditioning” effect without the cost of a forced air system. You also don’t give up valuable floorspace to duct work. About the only downside of a mini-split (+ radiator) system is that no fresh air gets into the building. Forced air systems usually have a fresh air intake with a heat exchanger. It’s not an issue in an old drafty building – but we’ll have to see whether it’s a problem in a well-insulated building like ours will be.
 Sprinkler risers going in
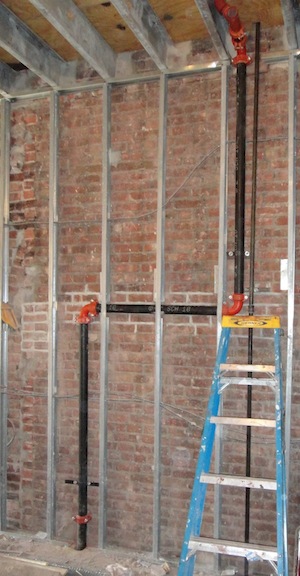
Another exciting bit of progress is that our sprinkler system is starting to go in. They’re just starting with the riser pipes.
There was supposed to be one riser going up the center of the building through the plumbing wall, but then we had the problem of how to get the plumbing lines past the stairs to the front of the building. That problem was solved by using two risers – one for the back of the building and the other for the front of the building. Now the supply lines can run through the walls and then up into the joists. (That will all make sense when it starts taking shape. But the bottom line is that with two sprinkler risers we don’t need to drop the ceilings to get the sprinklers where we need them to go – we get maximum ceiling height.
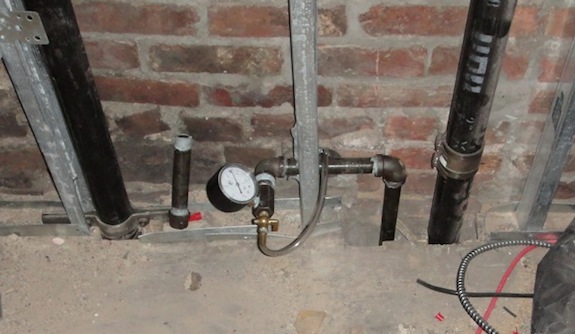
Gas lines installed
Another item they worked on this week were the gas lines (the plumber has been busy). It’s always good to see them doing pressure tests of gas lines – it’s not something you want leaking… 🙂
 General plumbing being completed
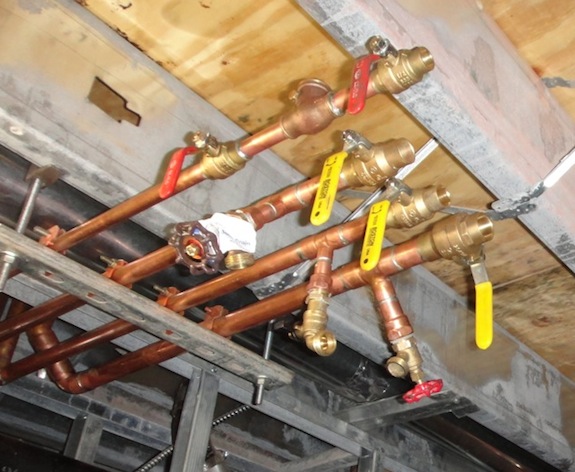
And there’s more plumbing being done… The plumber hadn’t done the copper supply lines in the rental apartment and cellar probably in part because the basement and cellar aren’t locked up as tightly as our unit is and copper is popular with thieves. But it’s finally going in as they finish off the plumbing. We did have to remind him at one point that gas and water needed to be separated for the two units.
 Street torn up, but water main connection delayed
I should have taken a photo, but forgot… I was expecting things to be really torn up when we got there today, but they weren’t. There was a big plate in the middle of the street where they had torn up the street and then put a plate over it. I guess they need to trench all the way to the house, but they haven’t done that yet.
They were supposed to start tearing things up on Monday. Then they said Tuesday. Then they said Thursday with DEP coming on Friday. But then hurricane Irene became an issue and folks at DEP were told to do storm prep, so our water main connection is now supposed to happen on Monday (possibly).
I get the sense that the water main sub-contractor (different from the plumber) is a bit of a prima donna since they deal with something that is rather complicated and delicate. They show up when they show up… But it’ll get done fairly soon – just not sure exactly when.
Ducting being put in
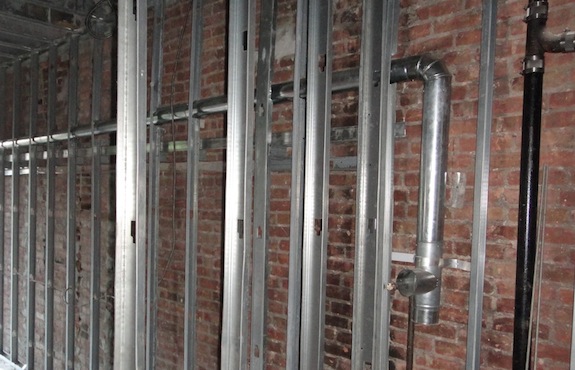
Last week they started running ducts. This week they went further. There’s the dryer ducts, the bathroom vent ducts, and the chimneys for the boiler and water heaters.
 Stoop restoration begun
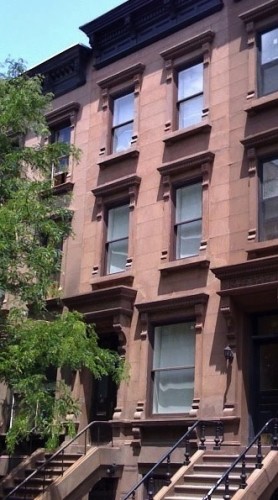
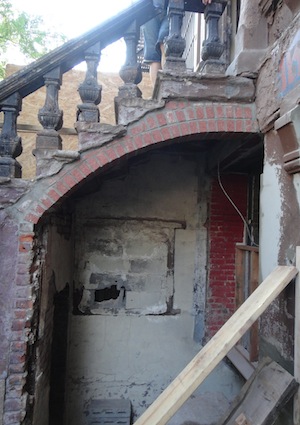
Another cool step forward is that they’ve begun work on the front of the house. To the right you can see that they’ve rebuilt the arch that holds up the upper part of the stoop. That brick will be covered in “brownstone” stucco.
The foreman debated how to build the arch and opted for a nice delicate arch. I like it. It’ll let in more light and give more headroom when getting to the door to the basement apartment.
They are actually two (French) doors into the basement rental unit – the one under the stoop and what used to be a window originally. The one under the stoop is too narrow to be a legal fire egress, so we had to maintain the other door that was originally a window. Since we raised the floor slightly in the basement the step into that door needed to be redone…
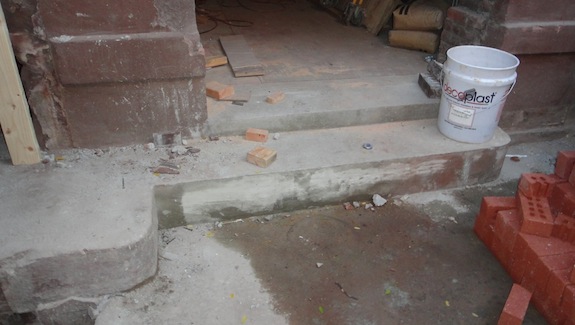 The narrow portion is new, the wider area is the original portion… Looks pretty good…
Fireplace delivered
Right as we were leaving today the contractor pulled up with the fireplace. It was enormous – at least the crating was… So that will get installed soon… Here’s a picture of it the following day after they had gotten it into the house…
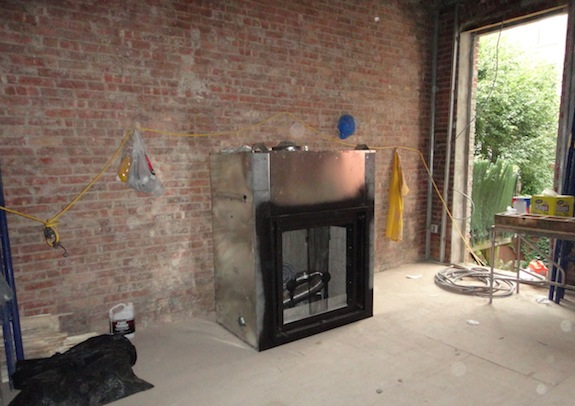 You can’t really tell from the picture, but it feels like a bit of a monster in the space. One thing we like is that it has glass doors (required by code), but they can be retracted into the sides so it sorta looks like it doesn’t have glass doors.
Clerestory window debate
We put clerestory windows (eyebrow windows) from the stairwell into the front bedrooms in order to get light into those rooms. In the picture below you can see the big opening at the top of the wall – all of that will be the clerestory window.
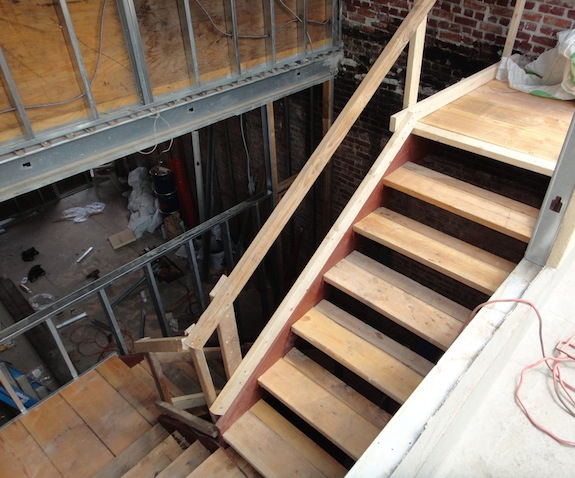 We figured the bulkhead would catch a lot of light and we wanted to make the most of it. But back then we thought the stairs up to the roof were going to be L shaped – we didn’t realize they would need to be U shaped. The extra run blocks a lot of light from getting down into the stairwell – unfortunate, but it is what is is.
I was standing one flight down and noticing that the light from the bulkhead doesn’t get that far down into the building so I was wondering whether we should keep the 2nd clerestory window. Mind you, once the walls are in and painted white there will be a lot of indirect light bouncing around, but very little direct light. But then Dan noticed that even though it was early afternoon and no light was directly hitting the front of the building there was light coming in the front windows and getting through to the stairwell (though the metal studs). So that made us wonder whether we should keep the clerestory window – not to get light from the stairwell into the bedroom but to get it from the bedroom into the stairwell. Then that made us wonder whether we should put a clerestory window on the 2nd floor as well. Gotta figure that out now too…
So all in all a pretty busy and productive week.

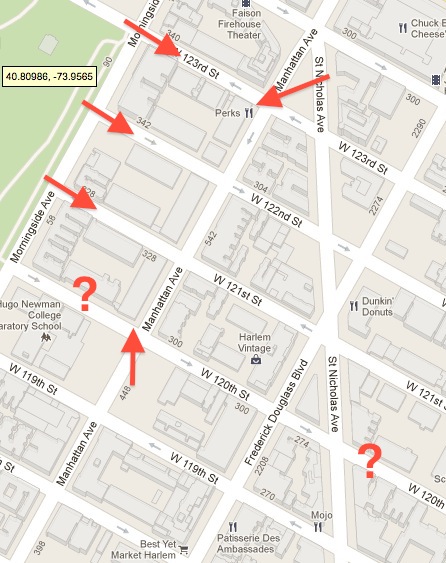 In terms of buildings in the historic district that are for sale – there’s not much… 533 Manhattan qualifies, but apparently the contract is out on it.
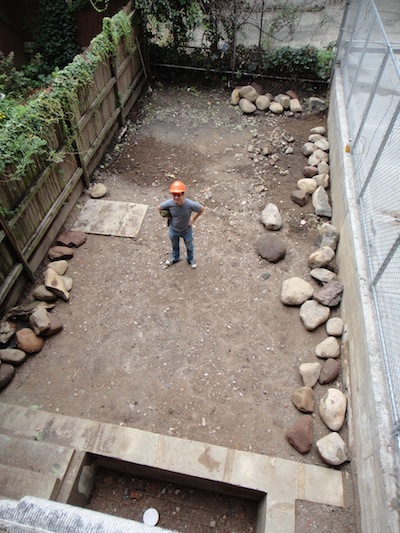
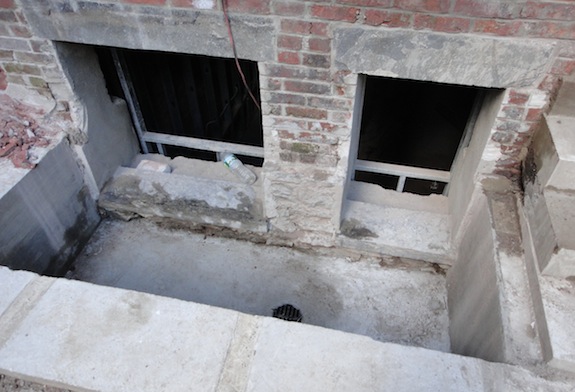
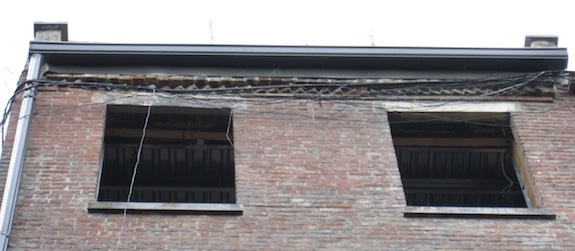 At the bottom of the building the lightwell is now complete and the drain in it is functioning…
 Stairs nearly done
 There’s a huge space above them since there are no stairs from the basement to parlor level. Dan wants to put a big chandelier over them to accentuate and brighten the space. To me I just want to put a simple chandelier in there – after all it’s a rental. I’m thinking the old chandelier from our coop would do nicely, but I think Dan wants something bigger and more dramatic.